Check your Classroom
Want to know if you are teaching in one of over 200 classrooms with HyFlex technology at UF? Check the list of registrar classrooms and included technology on UFIT’s Classroom Support website, and use the resources on this site to assist you with the equipment and with adapting your class meetings for hybrid delivery.
CONSIDERATIONS FOR MULTI-MODAL ENVIRONMENTS
Many classes being held with HyFlex technology will involve interacting with students who are in face-to-face and online sections at the same time. Some instructors also make lecture recordings available as an option for students to watch in an asynchronous setting. In order to accommodate students accessing your class through these different means, you may need to consider the following when teaching a class with multiple audiences. Remember that you do not have to learn and understand all the tools at once! Take it slow, and add new tools and techniques as you become more comfortable teaching in a classroom with HyFlex technology.
Microphones
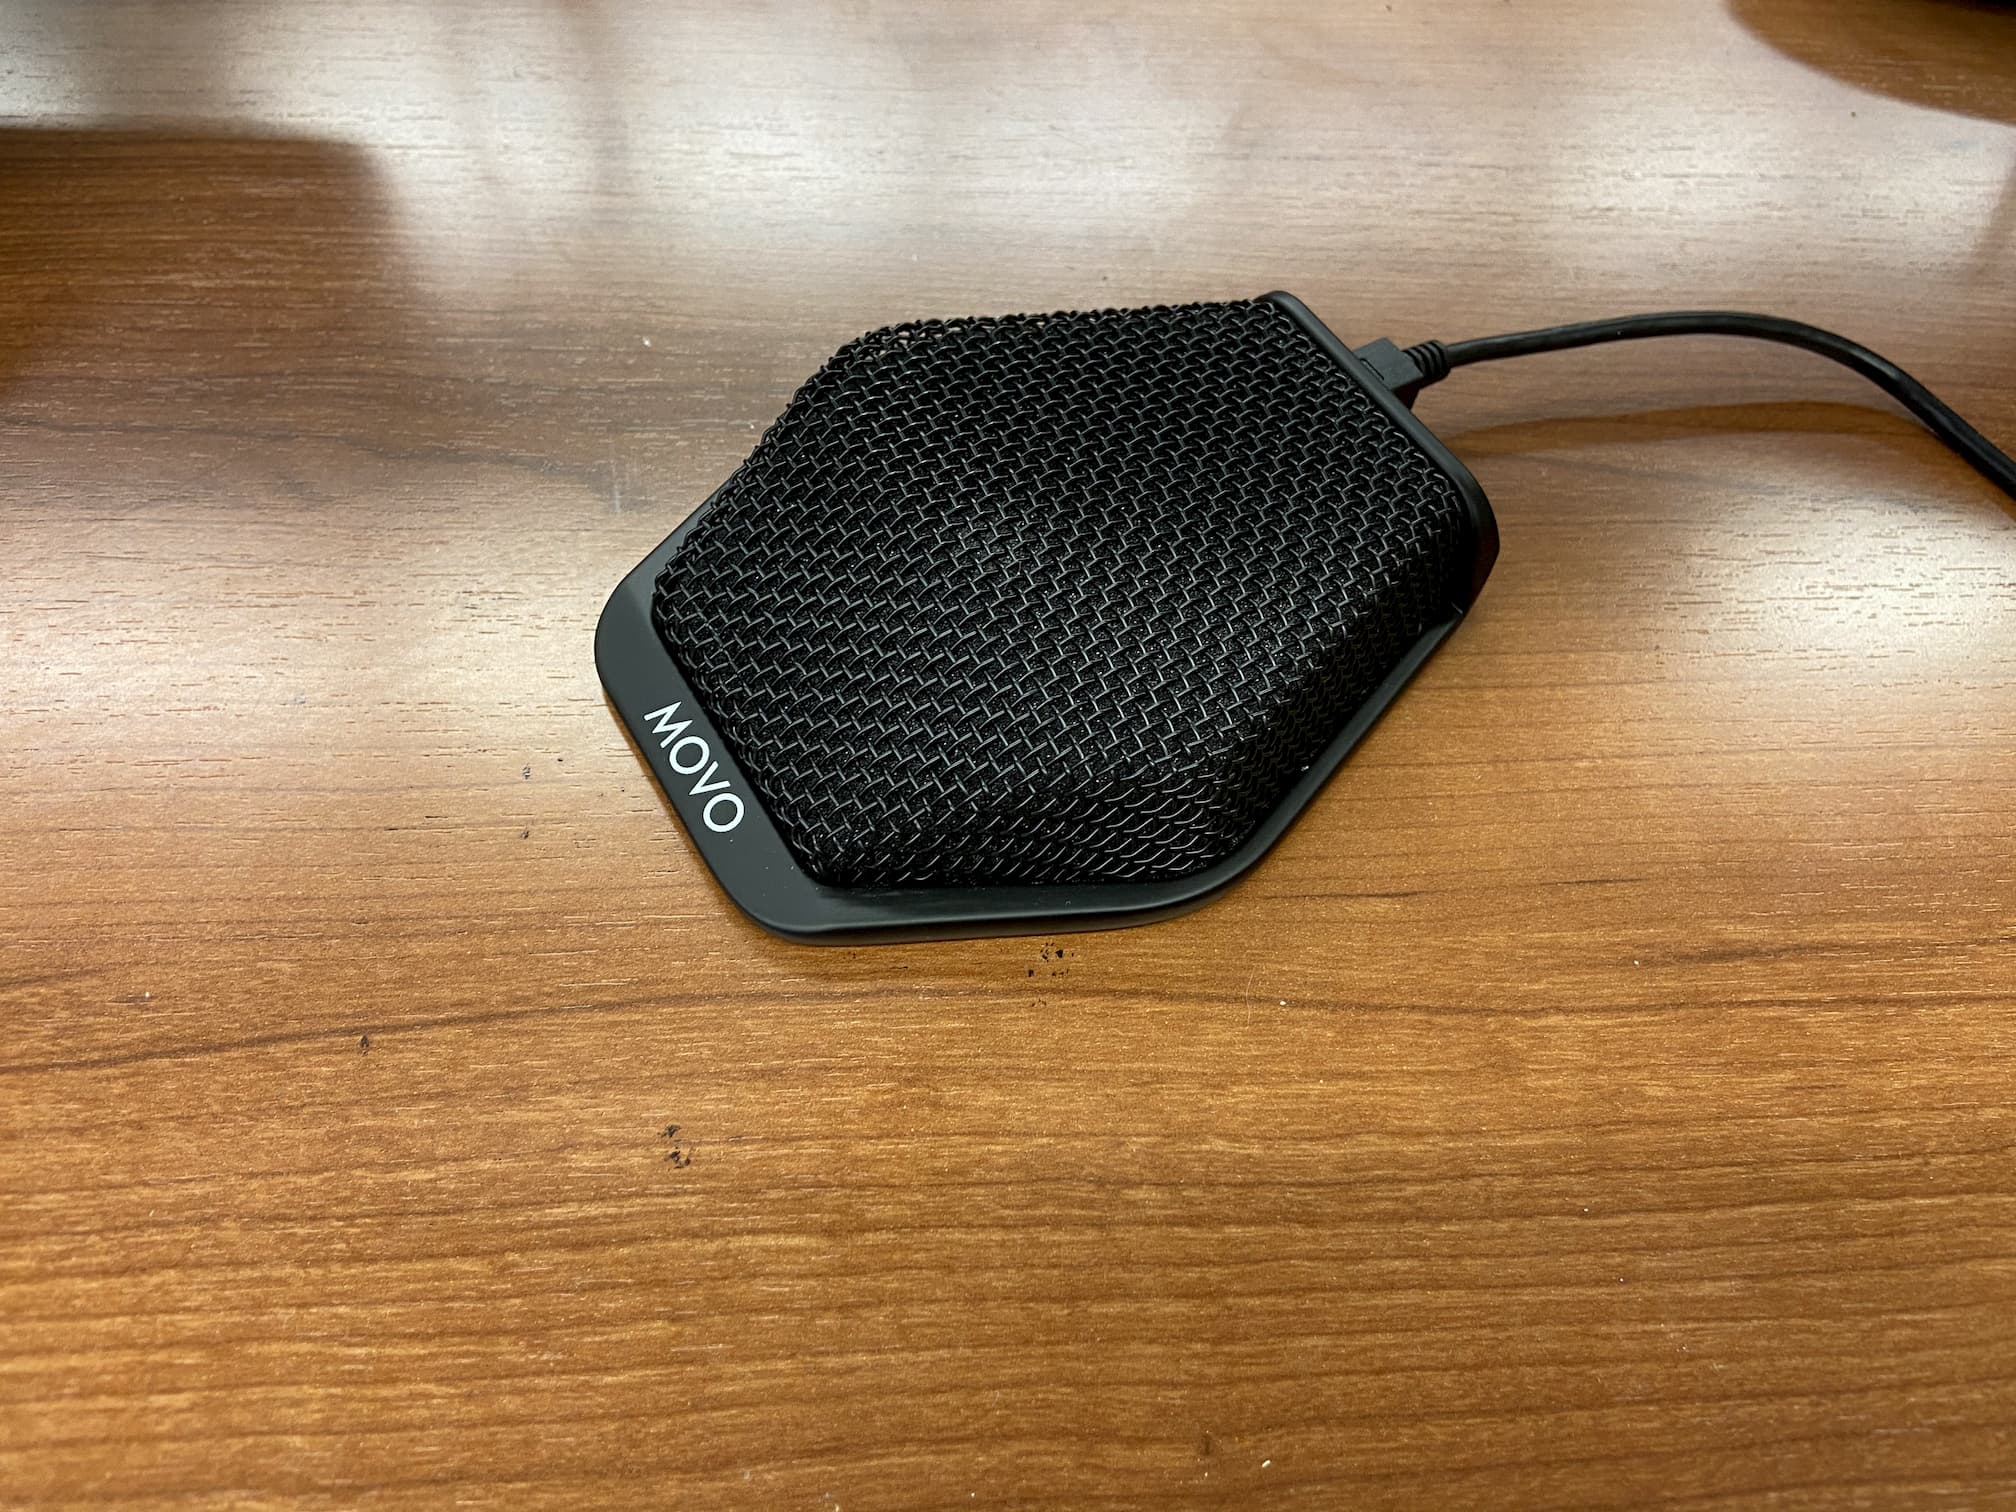
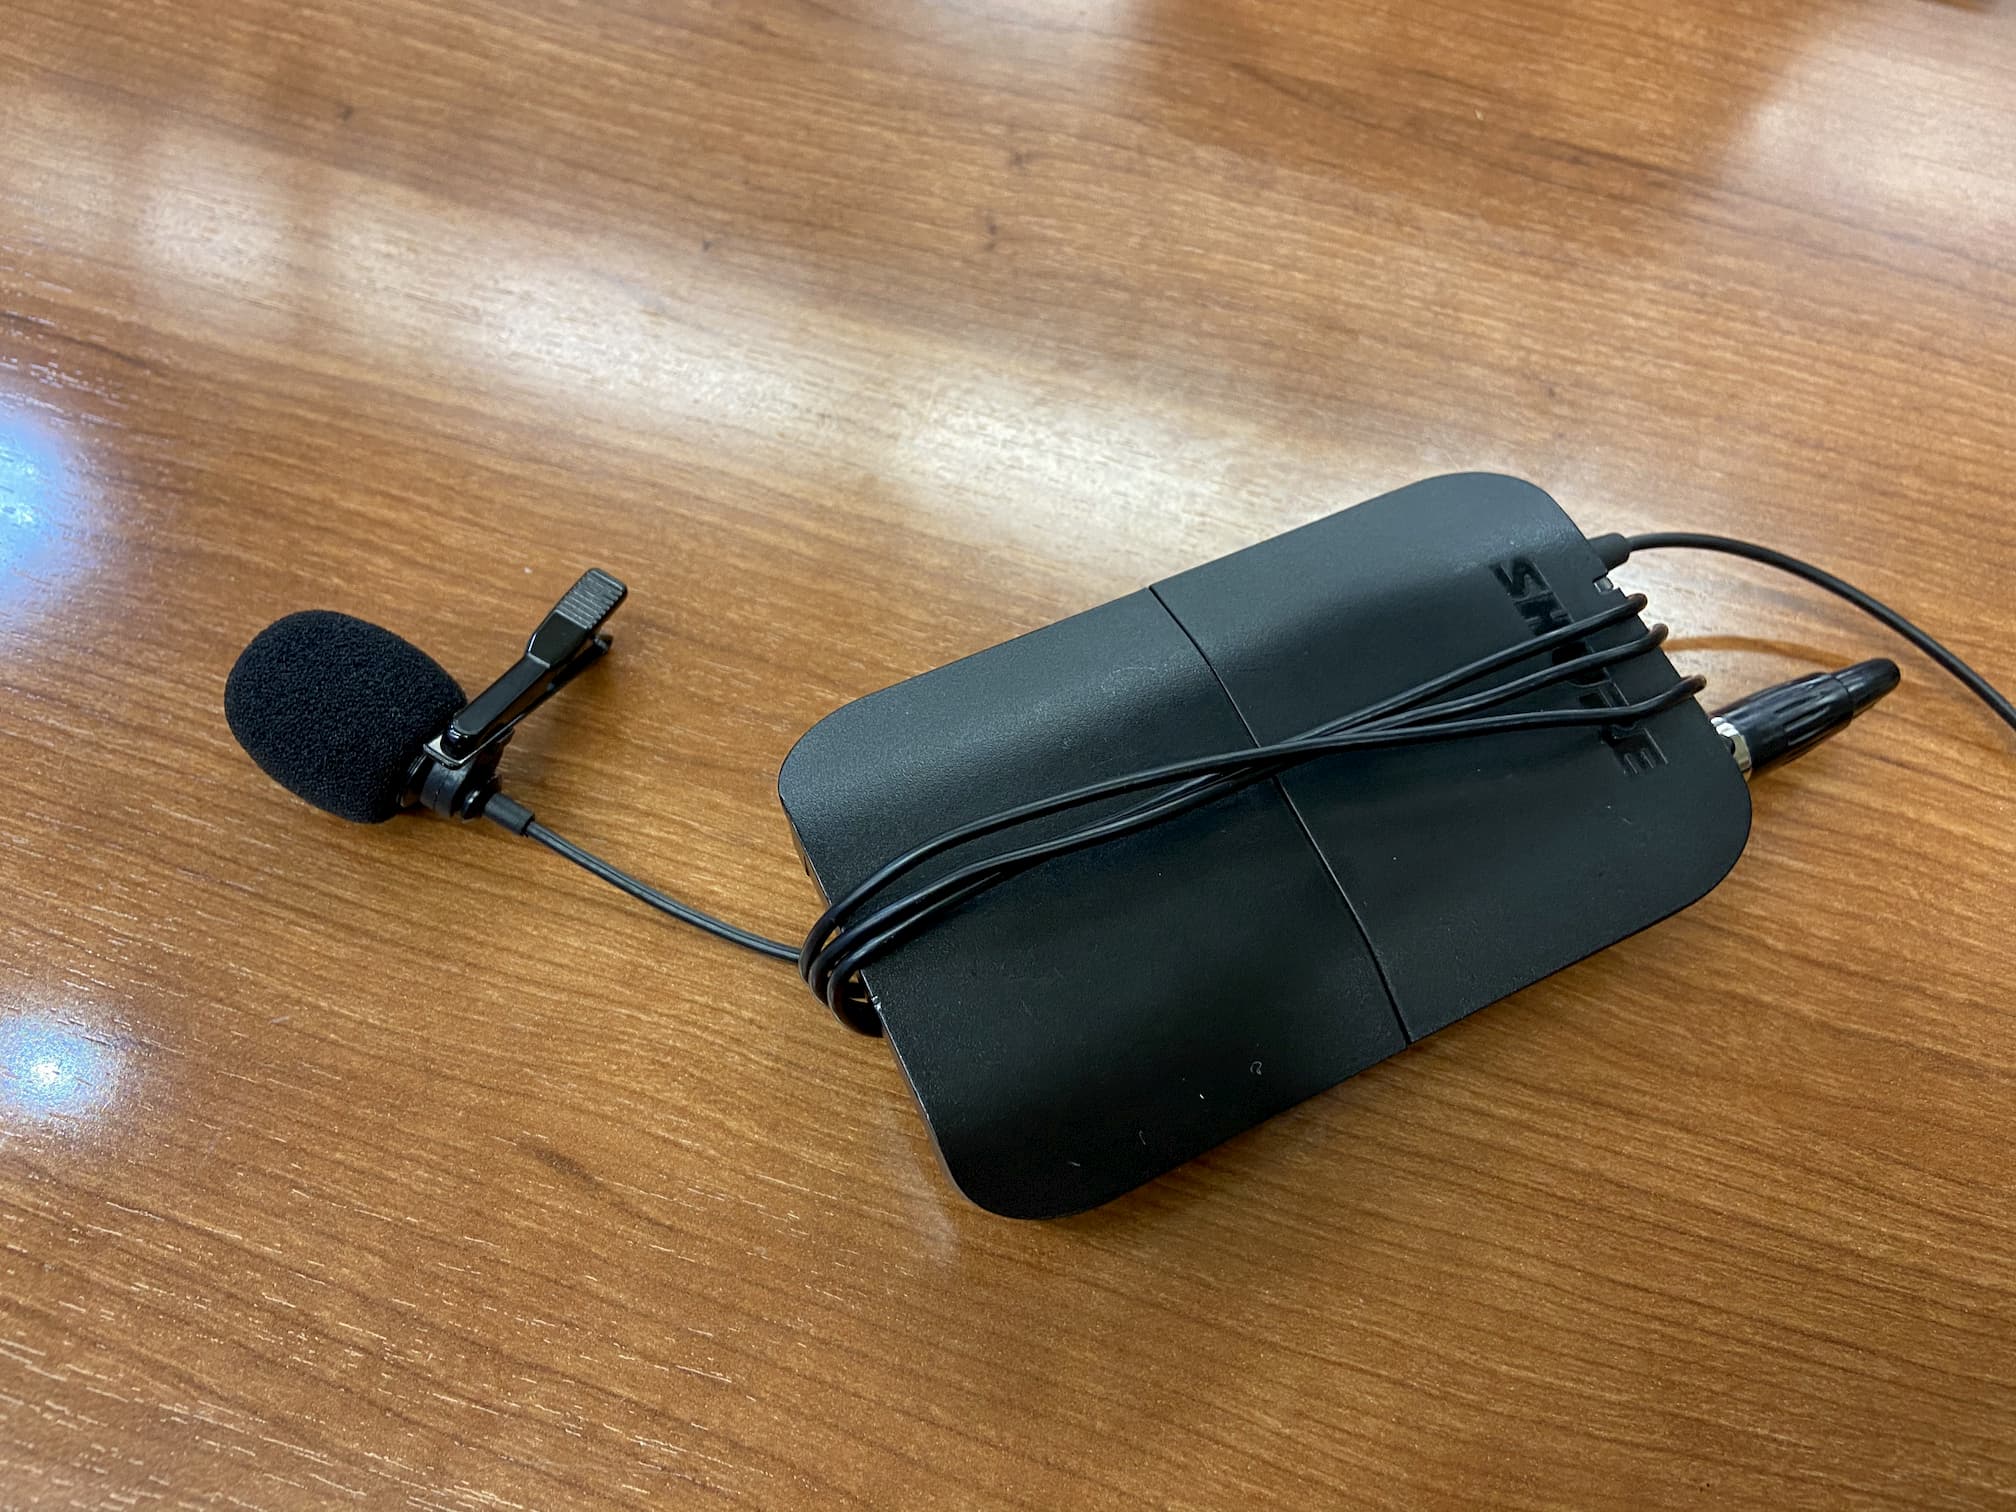
It is important to note the placement of microphones in your classroom to ensure that all learners are able to hear you properly. Many classrooms with HyFlex technology are outfitted with tabletop microphones that are effective at picking up speakers near the front of the room. Check to make sure that the correct microphone is selected in Zoom, and remember that questions asked by in-person students or through the chat will need to be repeated so that all audiences can hear the question. Classrooms without a tabletop microphone are equipped with a lapel or earpiece microphone and transmitter. This microphone is integrated into the podium computer so that your voice can be shared via Zoom no matter where you are positioned within the classroom.
Watch the video How to use Microphones in a HyFlex Classroom (YouTube) for more information on available microphones and their use.
Mask Considerations
Remember that, while wearing a mask, students will not be able to read your lips or your facial expressions to gain more understanding of your words or context. For example, sarcasm often relies on students being able to see you smiling, and jokes might be misinterpreted while wearing a mask that covers your mouth. Be deliberate in your delivery, and consider turning on live transcriptions in Zoom to provide additional context to those who knowingly or unknowingly depend on lip-reading. Either way, be sure to check that all your students are able to hear you clearly, and invite questions often.
Writing during your lecture
Many classes will have substantial numbers of students attending the class remotely. The best way to write your lecture notes so that all students are able to clearly see them is to use the annotation monitor and a virtual whiteboard. The annotation monitor and other options to communicate handwriting are described below.

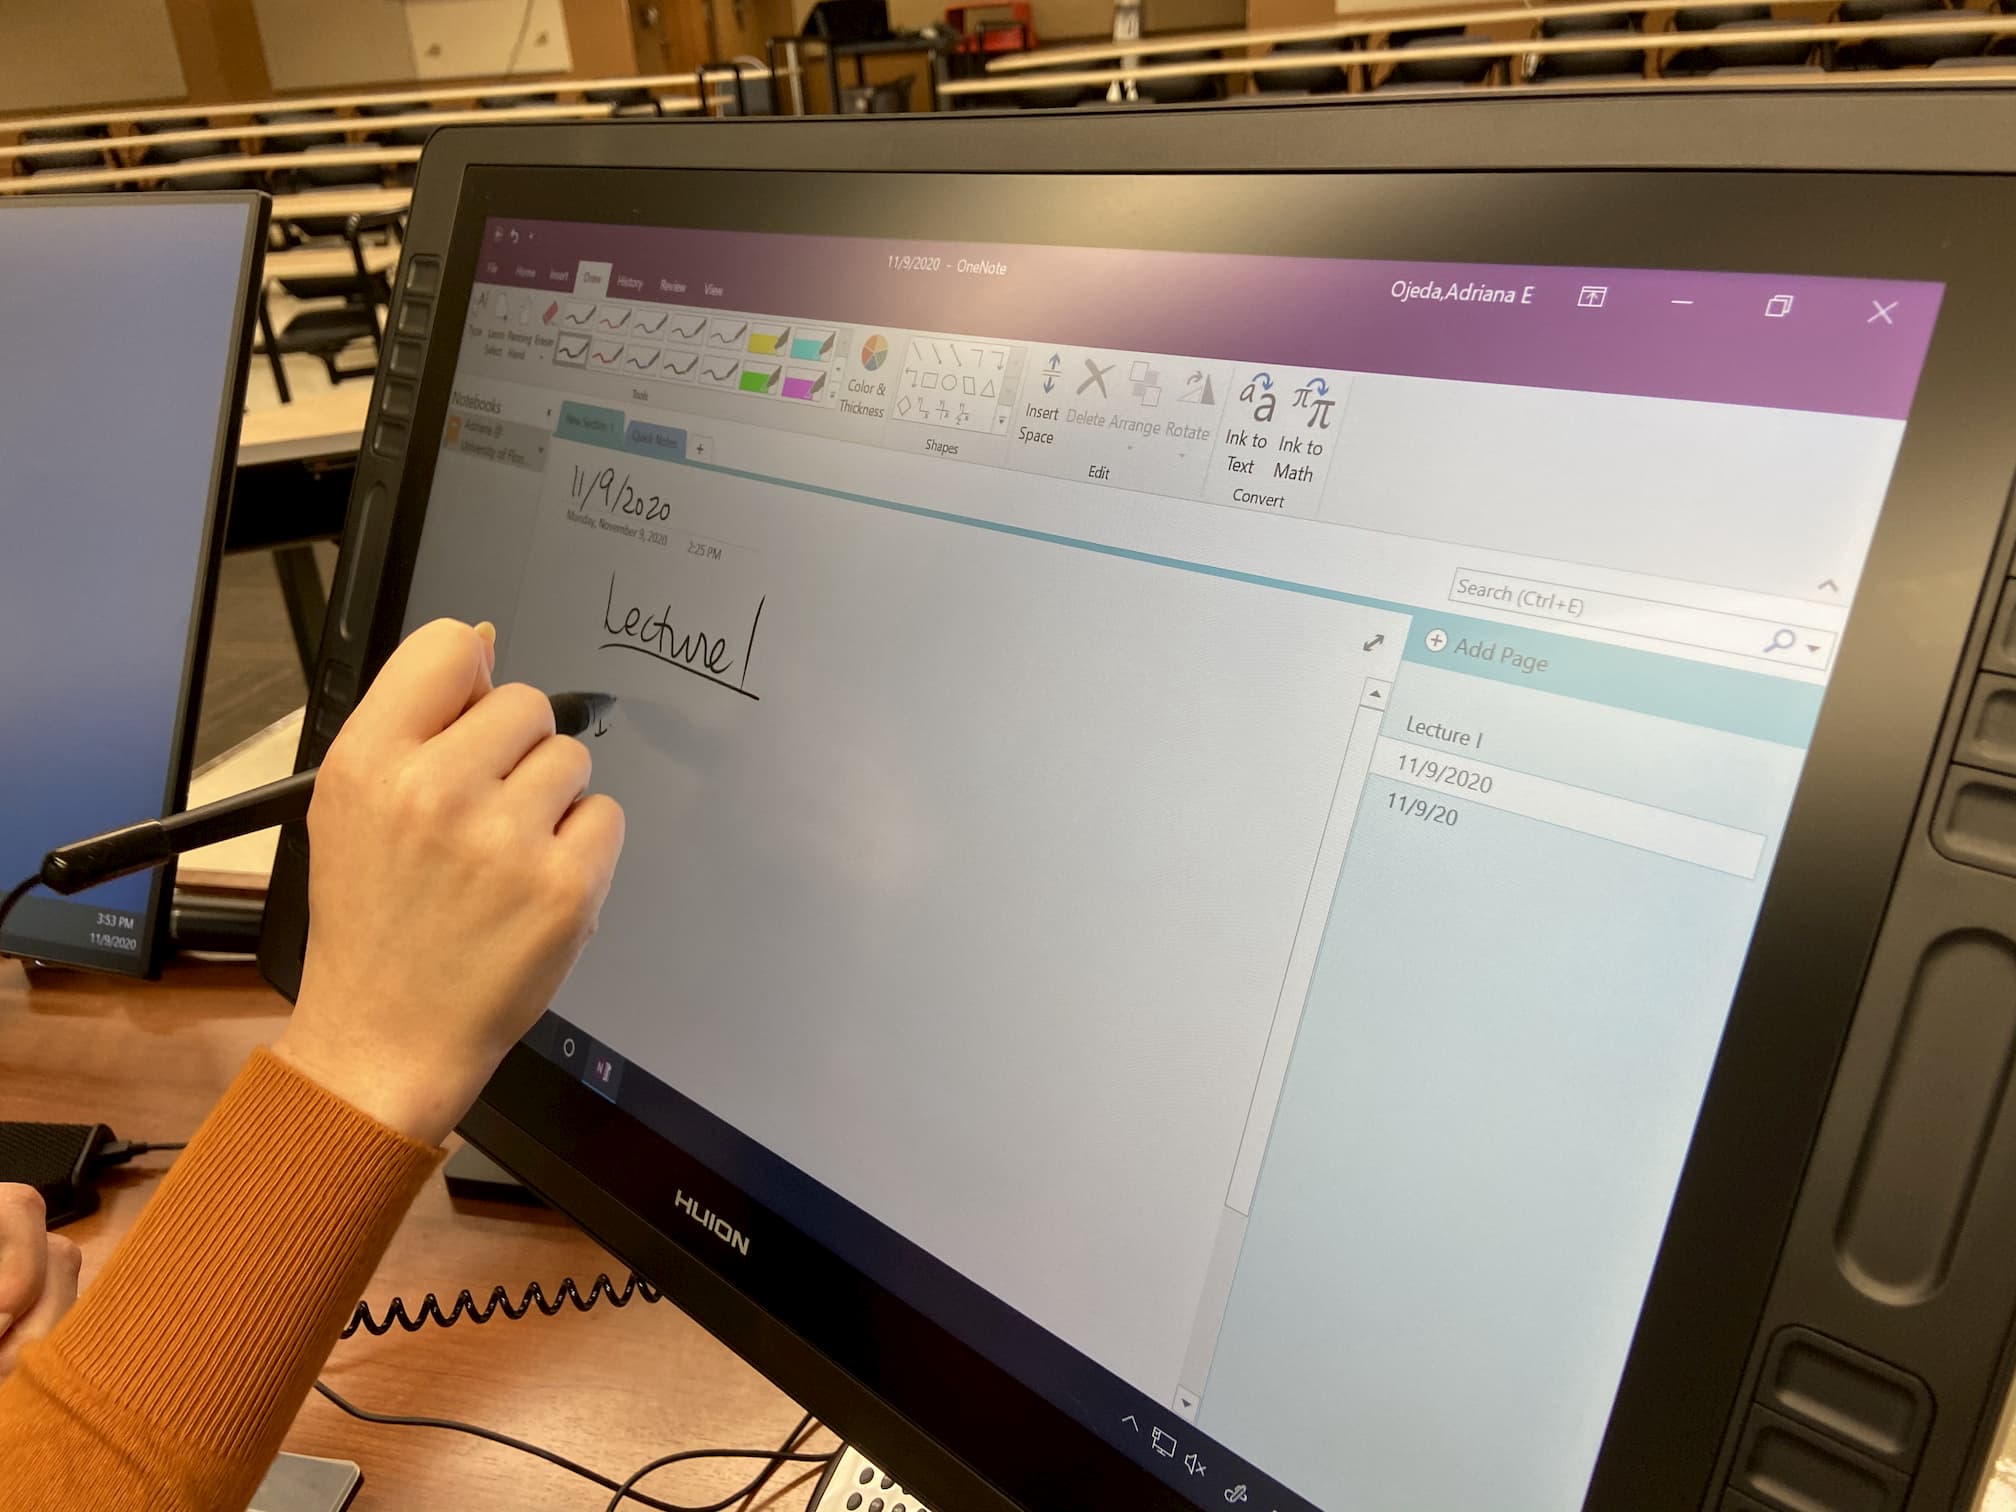
Annotation Monitors and Virtual Whiteboards
Classrooms with HyFlex technology have an adjustable annotation monitor and stylus. This annotation monitor, or touchscreen, is mounted on an articulating arm so that it can be positioned to make writing on them easy with the attached stylus. To share the view on your annotation monitor, use the “Share Screen” functionality in Zoom and share the screen corresponding to the annotation monitor. By doing this you can be sure that all students are able to see what you choose to put on that monitor regardless of what software or tools you use.
The Microsoft Office suite of software, in particular Microsoft OneNote, have drawing tools that work well with the annotation monitor and are suitable for writing lecture notes and saving them for reference or distribution. If you already have PowerPoint presentations prepared for lecture, you can present the slides to in-person and remote learners, and you can use PowerPoint’s drawing tools to write directly on your slides for all to see. Consider incorporating blank spaces or slides for extensive writing if needed. Consider using Microsoft OneNote because of its options for ruled or gridded pages, multi-colored pens, built in shapes and math axes, and support for the buttons on the attached stylus for switching between the digital pen, selection tool and eraser, if present.
Watch the video Teaching with PowerPoint in a UF HyFlex Classroom (YouTube) to learn how to use PowerPoint to conduct your lecture, or follow these steps:
- Open your PowerPoint presentation and begin the slideshow.
- Check to see that your Slide Show is displayed on the annotation monitor, and use the “Swap the Presenter view and Slide Show” option in the Display Settings, if needed.
- In Zoom, click on Share Screen, select the annotation monitor, and click Share.
- Use the stylus and drawing tools to write during your lecture if desired, scrolling for additional space or adding pages as desired. Drawing tools are available in PowerPoint’s “Presenter View” window.
Watch the video Using the Annotation Monitor in a UF HyFlex Classroom (YouTube) to learn how to use OneNote to conduct your lecture, or follow these steps:
- Open the Microsoft OneNote program on the computer by clicking on the Start button, typing “OneNote”, and selecting the program that appears in the search results
- Move the OneNote window to the annotation monitor.
- Select the “Draw” tab to see the available writing tools and pin the tab open if preferred.
- In Zoom, click on Share Screen, select the annotation monitor, and click Share.
- Use the stylus and drawing tools to write during your lecture, scrolling for additional space or adding pages as desired.
It is recommended that you save PowerPoints and OneNote Notebooks in your UF OneDrive so that they can be accessed from any computer or tablet. Writing can also be shared using Microsoft Word, the Zoom Whiteboard, or other with other annotation tools if preferred.
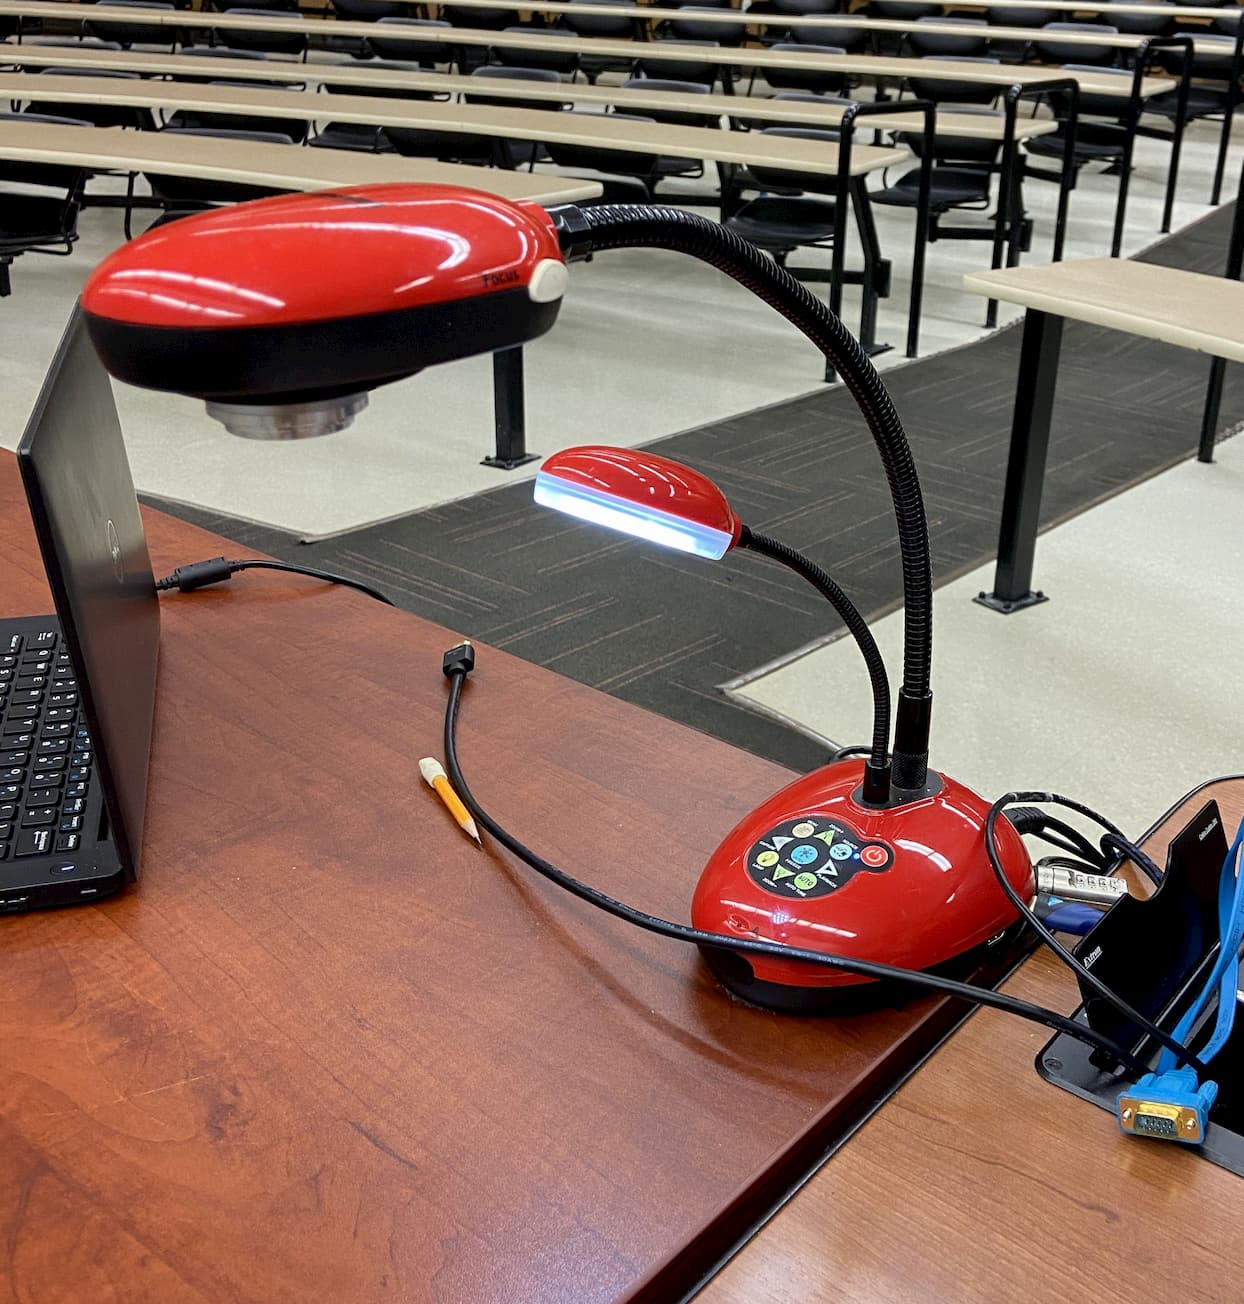
Document Cameras
Classrooms with Hyflex technology are equipped with a document camera, or “Ladibug”, that can be used to project handwritten notes. The document camera’s view can be projected for in-person students and shared to remote learners through Zoom.
The document camera can be opened as a window on the podium computer and shared through Zoom’s screen sharing.
Watch the video How to Use a HyFlex Document Camera (YouTube) to learn how to use the Document Camera to conduct your lecture, or follow these steps:
- Turn on the Document Camera by pressing the power button on the device.
- Open the Ladibug program on the computer by clicking on the Start button, typing “Ladibug”, and selecting the program that appears in the search results.
- The Ladibug window should be showing the view from the Document Camera. Move the Ladibug window to the annotation monitor.
- In Zoom, click on Share Screen, select the annotation monitor, and click Share. Now remote students can see the view from the camera through the screen share, and in-person students can see the Document Camera’s view on the projector.
Kaptivo Whiteboard Cameras
Some classrooms with HyFlex technology are equipped with Kaptivo brand cameras mounted above the whiteboard. Kaptivo cameras capture writing on the whiteboard below them, editing out the view of your hand as you write. This editing results in a slight delay, but provides a clearer view of your writing for remote students compared to using a regular camera that is zoomed in on the whiteboard.
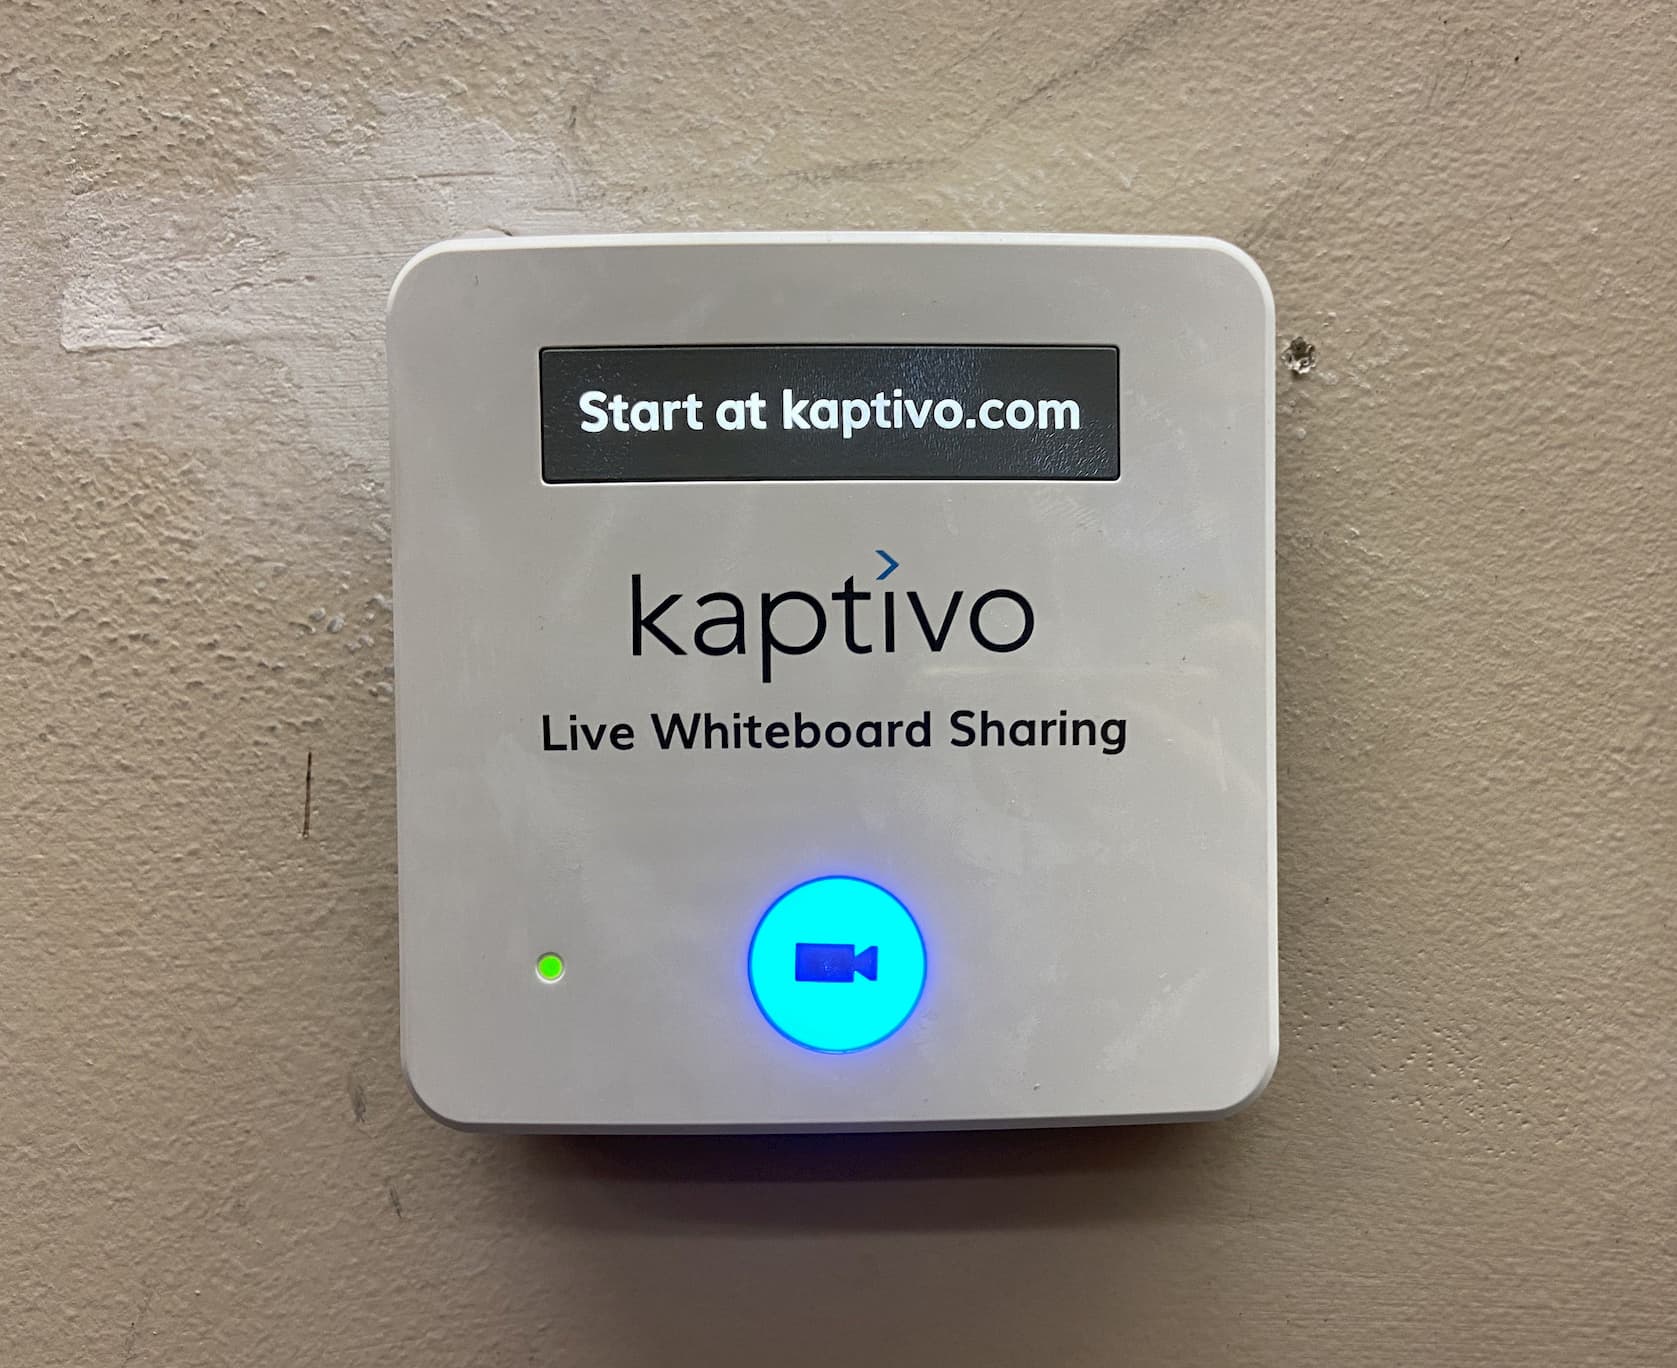
To use the Kaptivo camera to conduct your lecture, take the following steps:
- In Zoom, click on Share Screen, select the “Advanced” tab, and select “Content from 2nd Camera”.
- In the shared screen window that appears, click on the “Switch Camera” button in the top-left hand corner until the Kaptivo board or instructions appear.
- Turn on the Kaptivo camera by pressing the button mounted to the wall near the Kaptivo camera.
- Write on the whiteboard under the view of the camera, taking care that your writing stays within the camera’s line of sight.
Physical Whiteboards
Writing on physical whiteboards and chalkboards is also an option, but be aware that such writing may be more difficult for remote students to see and will require you to adjust camera positioning as you move from section to section of the wall.
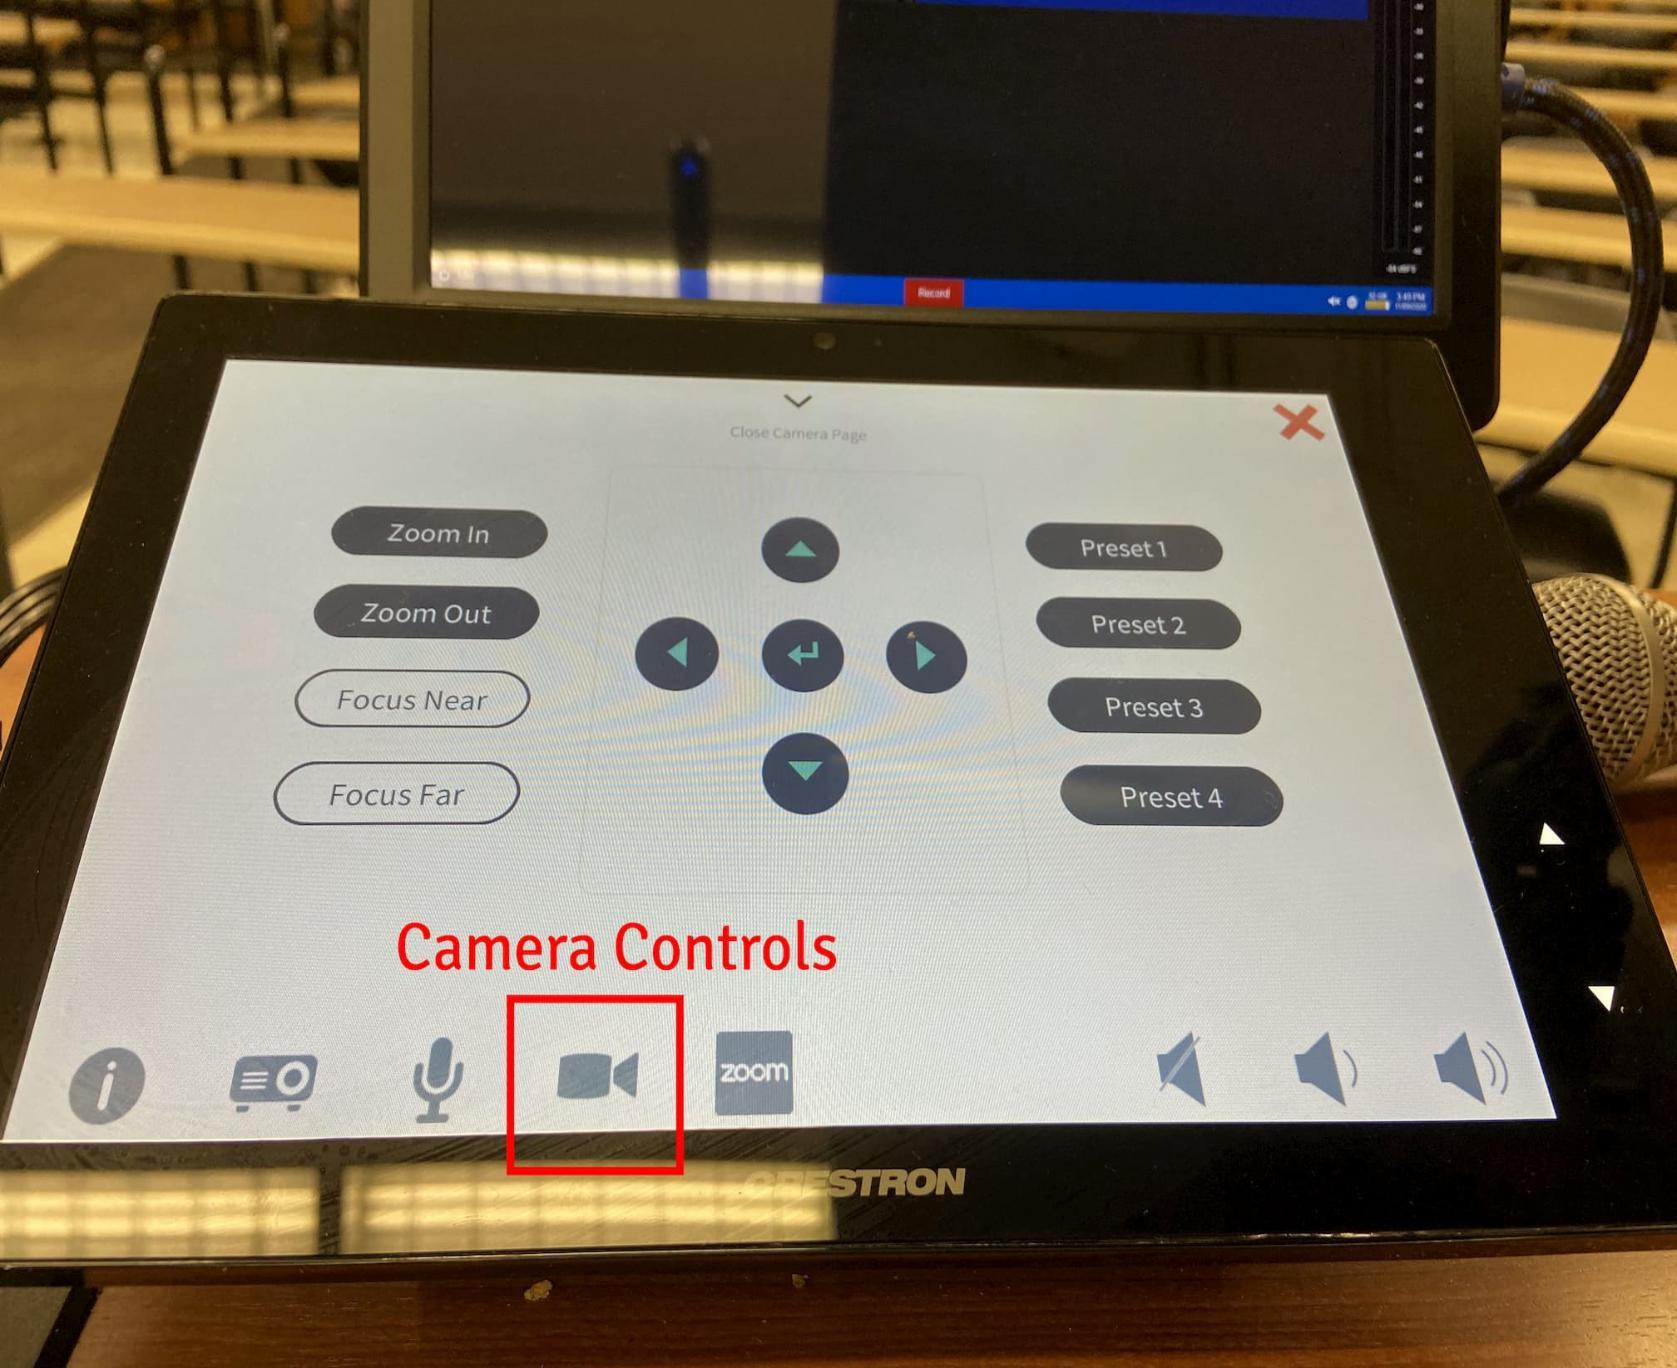
The touchscreen Creston panel in your classroom with HyFlex technology has a button that brings up the camera controls and presets, or a remote control for the camera will be available at the podium. Use the presets on the touchscreen and/or the camera controls to point and zoom the camera so that remote learners are able to see your writing.
When speaking while using the whiteboard, be aware that your volume level may vary in level for remote students as you move and change orientations. Requesting and using a lapel or earpiece microphone, if available, will provide a more uniform experience. Also, it is recommended that an in-person volunteer or TA be available to notify you when the camera position needs to be adjusted or when there are questions from remote learners that you may not be able to see when you are looking away from the computer monitors.
Cloud file sharing and presentations
Cloud collaboration tools provide great opportunities for sharing content and getting feedback from students during class. For example, if you are using one of the virtual whiteboard tools with the annotation monitor as described above, you could share the written notes with students after class if desired. In addition, cloud-based documents could be shared with students during class so that they are able to view discussion topics or agendas during class or discussion sessions. Some activities, such as collecting input from students during group discussions, could simply be typed into a shared document that all students can view the notes through screen sharing or directly shared using cloud-based collaboration tools.
Bringing your own laptop
There are many changes that will need to be taken in consideration when using your own laptop to teach a multi-audience class compared to teaching a solely face-to-face class. The provided microphones in a classroom with HyFlex technology are designed to pick you up at the front of the room, and a built-in microphone on a laptop may not be sufficient for remote learners to hear you properly. The classroom camera, Kaptivo board, and document camera are also only available on the podium computer. In order to use these tools with remote students, especially the classroom camera, you will need to join your Zoom meeting from both the podium computer and your laptop, muting the sound entirely on your laptop to prevent feedback. For this reason it is often easier to present your lecture from the podium and not your laptop in order to minimize the number of devices and settings you will need to manage during lecture.
ADDITIONAL SUPPORT
A variety of support teams throughout campus are available for consultations, guidance, and more:
- For instructional design/online pedagogy help, email citt@ufl.edu or submit a request
- For technical assistance with tools, email ufit-training@ufl.edu
- Explore workshops on teaching from the Center for Teaching Excellence
- For questions regarding UF Video Services, email video@ufl.edu or visit Video & Collaboration Services
- Visit Classroom Support or email classrooms@ufl.edu for classroom support requests